When we first got married we bought some nude furniture for super cheap and stained it ourselves. The bed we chose was a higher quality wood and turned out beautifully. The 2 nightstands and dresser were not quite as nice and looked decent at first but fast forward 14 years later and they look pretty beat up. The clear coat we put on top of the black stain was streaking and peeling off in places. And it was a beating to keep dust-free. Shiny black furniture is a dust-magnet. Drives. Me. Nuts. So this summer I decided it was time for a little furniture make-over...and that it was time for me to see what all the fuss is over chalkpaint.
Now, I'll be the first to admit that I'm more of a "wing it" kind of gal when it comes to home projects. This probably surprises many of you. But if I start doing too much research on how to do something properly it totally stresses me out that I won't do it the right way and I end up not doing it at all. So, yeah, I thought to myself, "I got you, chalkpaint. Bring it on."
Here is what I used: (It was on clearance at Walmart.)

Dear Annie Sloane Lovers: Please don't hate on me right now. I know you love your Annie Sloan chalkpaint. And yes, I know it is the best. And lasts the longest. And you barely have to use any at all so you have a ton left over. BUT, I really didn't want to spend that much on something I wasn't certain I was going to enjoy working with. So I didn't.
This is what the nightstands looked like before: (I forgot how terrible they looked!)


Here's the easiest thing about chalkpaint: There's no sanding or priming. I just slapped 2 coats of paint on and called it a day. It went on easily and dried rather quickly. I soon realized that I would need to apply a wax coat to keep it from looking so "chalky." Here it is before the wax:


But first, I decided it needed some character. So I got out this from a past project:


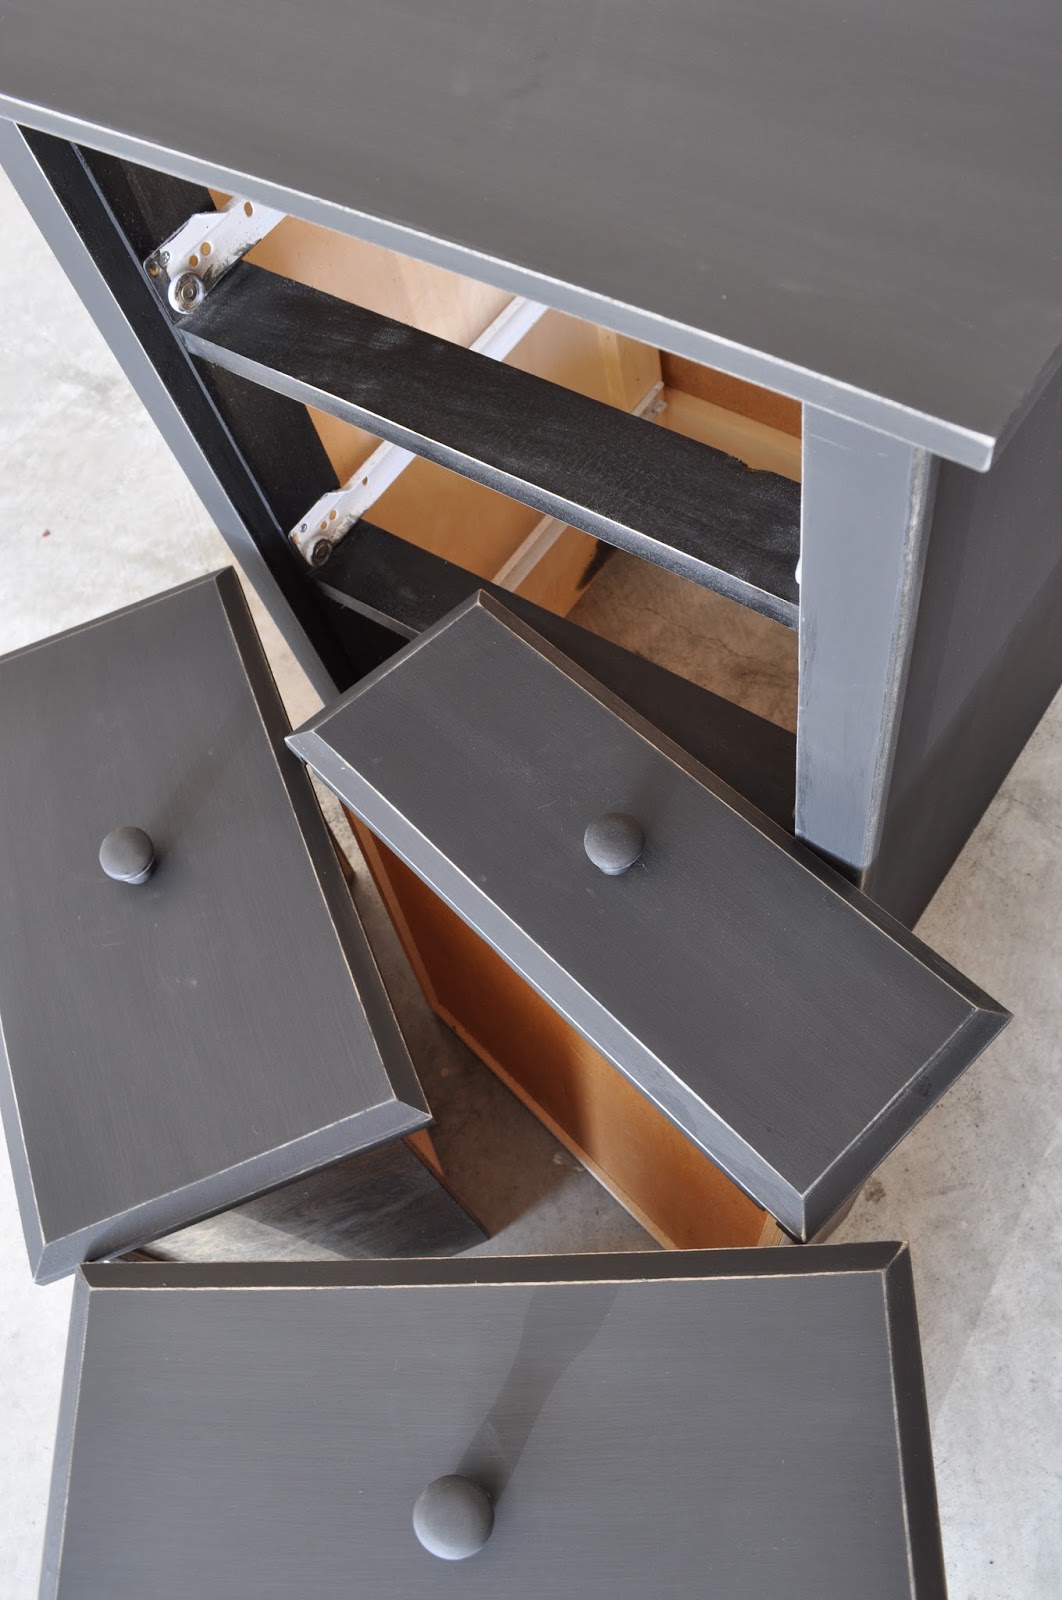
And I went to town: scuffing up all the edges. You know...scuff it to make it pretty. Makes perfect sense.


Then I waxed it. The Walmart wax has the look and consistency of Elmer's glue (which I hear is very different than other waxes that are thick like Vaseline). So I used the same paint brush to wax it instead of the special stiff paint brush because I'm all about simplicity. Then I let it sit for a good 24 hours to dry. It was worth the wait, wouldn't you say?


The only thing that would've made this project easier is if I had my ChicBands to keep my hair outta my eyes. Guess I'll have to find another project to work on now that I have my ChicBand collection. ;) And speaking of ChicBands...it's time to announce the winner of our Giveaway!
Congratulations Letty!! You are the winner of the ChicBand of your choice! Oh Happy Day!
Lovelies, I know you've been waiting until the contest is over, but don't wait any longer! Use the code SIMPLE for 25% off your ChicBand order. It's only for the first 20 people so get to shopping! ;)
XOXO,
Michelle
You might also like to read about My Adventure with the Free Desk. Remember that one? Click HERE to read all about it. :)


The nightstands turned out amazing! So impressed! We used chalkpaint on our headboard and loved how easy it was! On to the next project right?? :)
ReplyDeleteYES!!! Chalkpaint Forever! ;)
Delete